Simple Set up of FusionReactor Administration Manager (FRAM) and the Observability Agent
For FusionReactor users, a streamlined setting of the FusionReactor Administration Manager (FRAM) and the Observability Agent is crucial in getting the most out of this observability platform. This article provides a step-by-step guide, drawing from critical points in three instructional videos, to help you through the process.
Installing FRAM:
FRAM installation is the starting point, which is made straightforward with the automatic installer.
- Installation Steps: Choose the automatic installer from the FusionReactor download page, select your environment, and run the installer as an administrator.
- Configuration: During installation, specify where you want FRAM installed and set the port (default 8087). Don’t forget to create an admin password for later access.
- Finalizing Setup: Ensure the FRAM service user can write on the server. After installation, use a browser to access FRAM with the set port and password, and add your FusionReactor license key.
Setting up FusionReactor:
With FRAM ready, the next step is installing FusionReactor on your server.
-
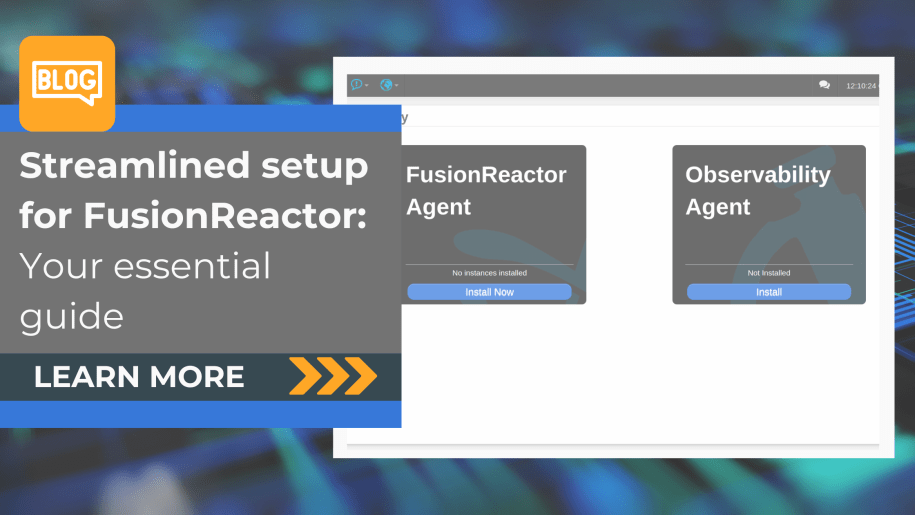
- Getting Started: Open FRAM in your browser and navigate to the FusionReactor Agent section.
- Installation Process: Use the ‘Install Now’ option to start. The agent can automatically detect servers, but manual addition is available if needed.
- Configuring Instances: Name your instance and assign it to a group, like ‘Production’. Set your desired port and an admin password.
- Completing Installation: Choose the user and group settings, set the start/stop options and installation method, review your settings, and confirm the installation.
Integrating the Observability Agent:
FusionReactor v12 brings the Observability Agent, enhancing monitoring capabilities.
- Upgrading and Setting Up: Upgrade FRAM and find the Observability Agent installer—Configure integrations, like MySQL, for monitoring.
- Enhanced Monitoring Options: Set up log collection for services and enable the OTEL collector for broader data collection.
- Installation and Verification: Start the installation and, once done, check the agent’s status on the status screen. Confirm metric reception in FusionReactor Cloud.
Streamlined, simple setup for FusionReactor
Following this guide makes installing and configuring FRAM, FusionReactor, and the Observability Agent straightforward. This setup is vital for tapping into FusionReactor’s full potential, especially for those keen on leveraging its GenAI and Open Telemetry capabilities for comprehensive monitoring.